
The Ultimate Guide to Interior Painting in Chelmsford: Tips from the Pros


Preparing for Your Interior Painting Project
Before picking up a brush, proper preparation is key to achieving a smooth and professional-looking paint job. Start by clearing out the room or moving furniture to the center and covering it with drop cloths or plastic sheets. Protect your floors with rosin paper or a canvas drop cloth to avoid accidental spills.
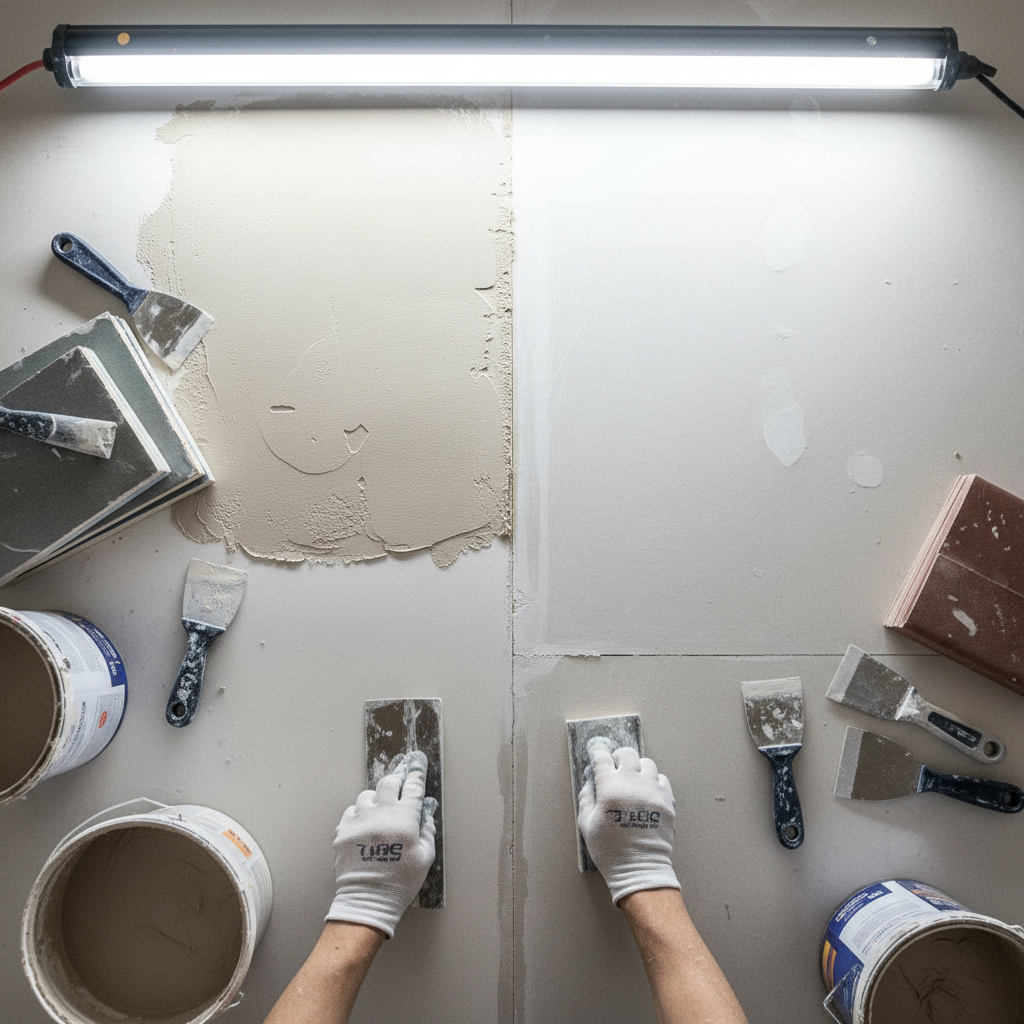
Next, clean your walls thoroughly to remove dust, grease, or dirt that could prevent paint from adhering properly. Use a mild detergent solution and allow the walls to dry completely. If there are any cracks or holes, patch them with spackle and sand them smooth once dry.
Finally, tape off edges, trim, and baseboards using painter’s tape to achieve clean, crisp lines. This extra step can make a huge difference in the final result of your project.
Choosing the Right Paint and Tools
Not all paints are created equal. Selecting the right type of paint for your project is essential. For most interior walls, opt for a latex-based paint, which is easy to work with, durable, and cleans up with water. For kitchens and bathrooms, consider paints with mildew resistance for added durability.
When it comes to finish, flat or matte finishes are great for minimizing imperfections, while eggshell or satin finishes add a slight sheen and are easier to clean. High-gloss finishes are ideal for trim and doors, as they’re highly durable and reflective.
In addition to paint, make sure you have the right tools on hand. A high-quality roller, angled brushes, a paint tray, and an extension pole can make the process much more efficient.
Mastering the Art of Cutting In
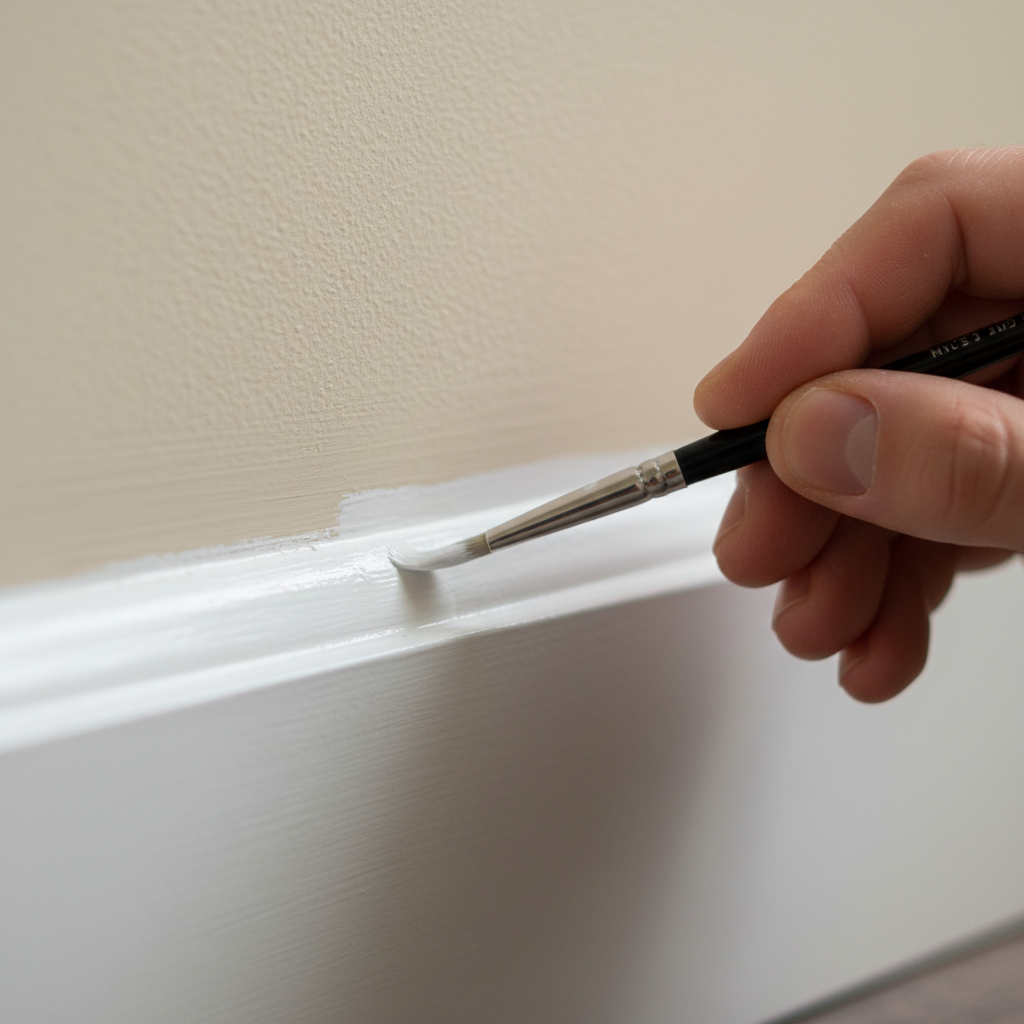
“Cutting in” refers to painting the edges of walls, ceilings, and trim where a roller cannot reach. It’s a crucial step in achieving a professional finish. Use a high-quality angled brush for this purpose, and don’t overload it with paint to avoid drips.
Start by dipping just the tip of your brush into the paint and tap off any excess. Carefully paint along the edges, keeping a steady hand. For beginners, using painter’s tape can help ensure a straight line, though with practice, you may find it easier to cut in freehand.
After cutting in, immediately follow with a roller to blend the edges with the rest of the wall. This will help prevent visible lines or uneven textures between the two methods.
Rolling Like a Pro
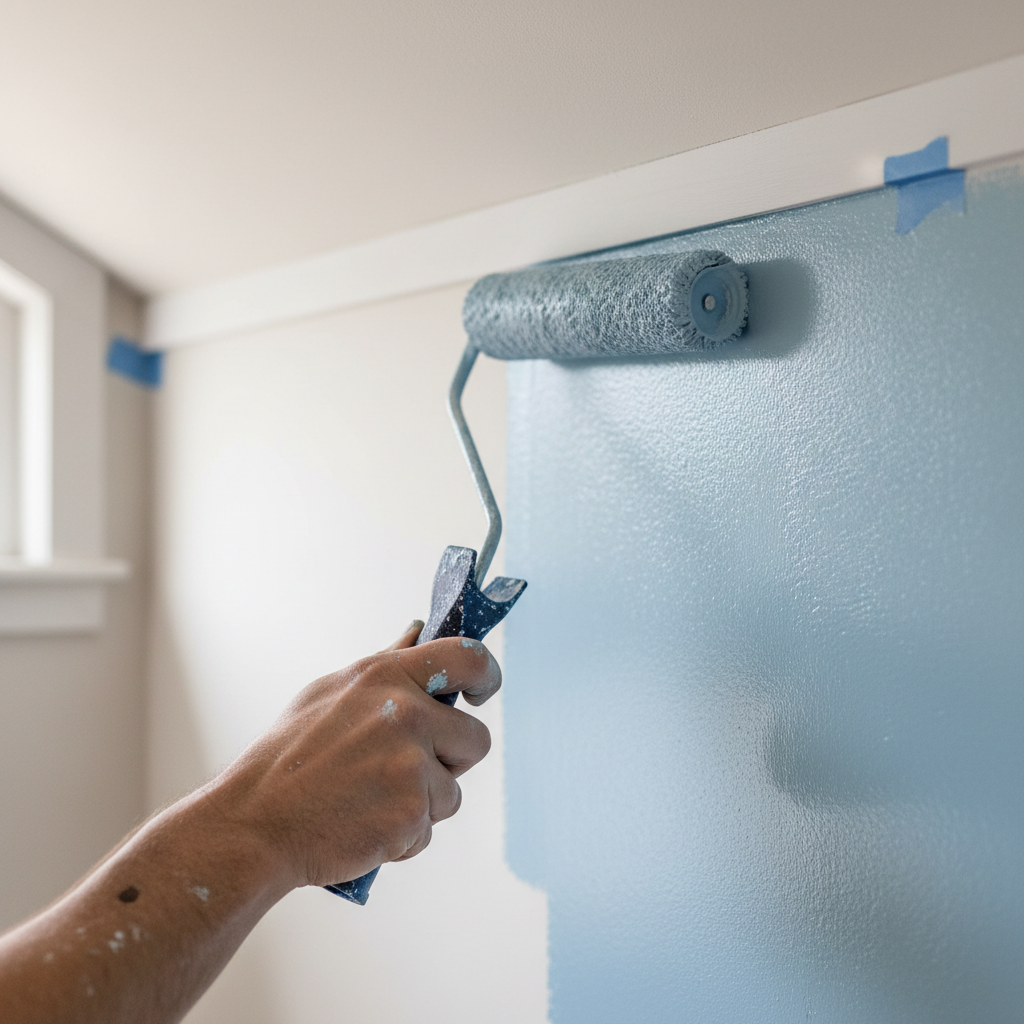
When it’s time to use a roller, technique matters. Start by loading your roller with paint, then roll it back and forth on the paint tray to evenly distribute the paint and remove the excess. This will help prevent drips and splatters.
Apply the paint in a “W” or “M” pattern to distribute it evenly on the wall, then go over it with straight, vertical strokes to smooth it out. Work in small sections, blending as you go, to avoid visible lap marks.
Don’t forget to check for missed spots or uneven coverage before the paint dries. If necessary, apply a second coat for the best results.
Common Mistakes to Avoid
Even the most experienced painters can make mistakes, but knowing what to avoid can save you time and frustration. One common mistake is skipping primer. Primer helps with adhesion and ensures an even finish, especially when painting over dark colors or on new drywall.
Another mistake is using low-quality paint or tools. While they may save you money upfront, they often lead to poor results and require more effort to fix. Invest in high-quality materials to achieve a longer-lasting finish.
Lastly, resist the urge to rush. Painting takes patience, and cutting corners can result in streaks, uneven coverage, or a messy finish. Take your time and follow each step carefully for the best outcome.
Cleaning Up and Enjoying Your New Space
Once the paint is dry, carefully remove the painter’s tape by pulling it at a 45-degree angle to avoid peeling the paint. Clean your brushes and rollers immediately with soap and water (for latex paint) or a paint thinner (for oil-based paint).
Dispose of any leftover paint responsibly, following your local waste management guidelines. If you have extra paint, consider storing it for touch-ups in the future. Seal the can tightly and store it in a cool, dry place.
Now that your painting project is complete, take a moment to admire your hard work. A fresh coat of paint can transform any room, making it feel brighter, cleaner, and more inviting.

Final Thoughts
Interior painting in Chelmsford doesn’t have to be a daunting task. With the right preparation, materials, and techniques, you can achieve a professional finish that breathes new life into your home. Remember, the key to success is in the details—so take your time and enjoy the process.
If you’re unsure about tackling the project yourself, don’t hesitate to reach out to a professional painter in Chelmsford. Their expertise can save you time and ensure flawless results, giving you the beautiful space you’ve always dreamed of.