
How to Prepare Your Walls for Painting: Expert Tips from Hansen's Trader


Why Proper Wall Preparation is Essential
Before you even think about picking up a paintbrush, it's crucial to understand why preparing your walls is a fundamental step in the painting process. Proper wall preparation not only ensures a smoother application but also extends the longevity of your paint job. Skipping this step could lead to peeling, cracking, and an uneven finish.
At Hansen's Trader, we emphasize the importance of this preparatory phase because it sets the foundation for a professional and aesthetically pleasing outcome. Whether you're renovating a single room or an entire house, investing time in wall preparation will save you from potential headaches down the road.

Inspect and Repair Your Walls
The first step in preparing your walls is to conduct a thorough inspection. Look for any imperfections such as cracks, holes, or peeling paint. These issues need to be addressed before you begin painting. Use a flashlight to spot any subtle irregularities that might not be immediately visible.
Fixing Cracks and Holes
For cracks and holes, use a quality filler or spackle. Apply it with a putty knife, ensuring that the surface is smooth and level. Once the filler has dried, sand the area until it is flush with the surrounding wall. This step is crucial to achieving a seamless finish.
Cleaning and Sanding
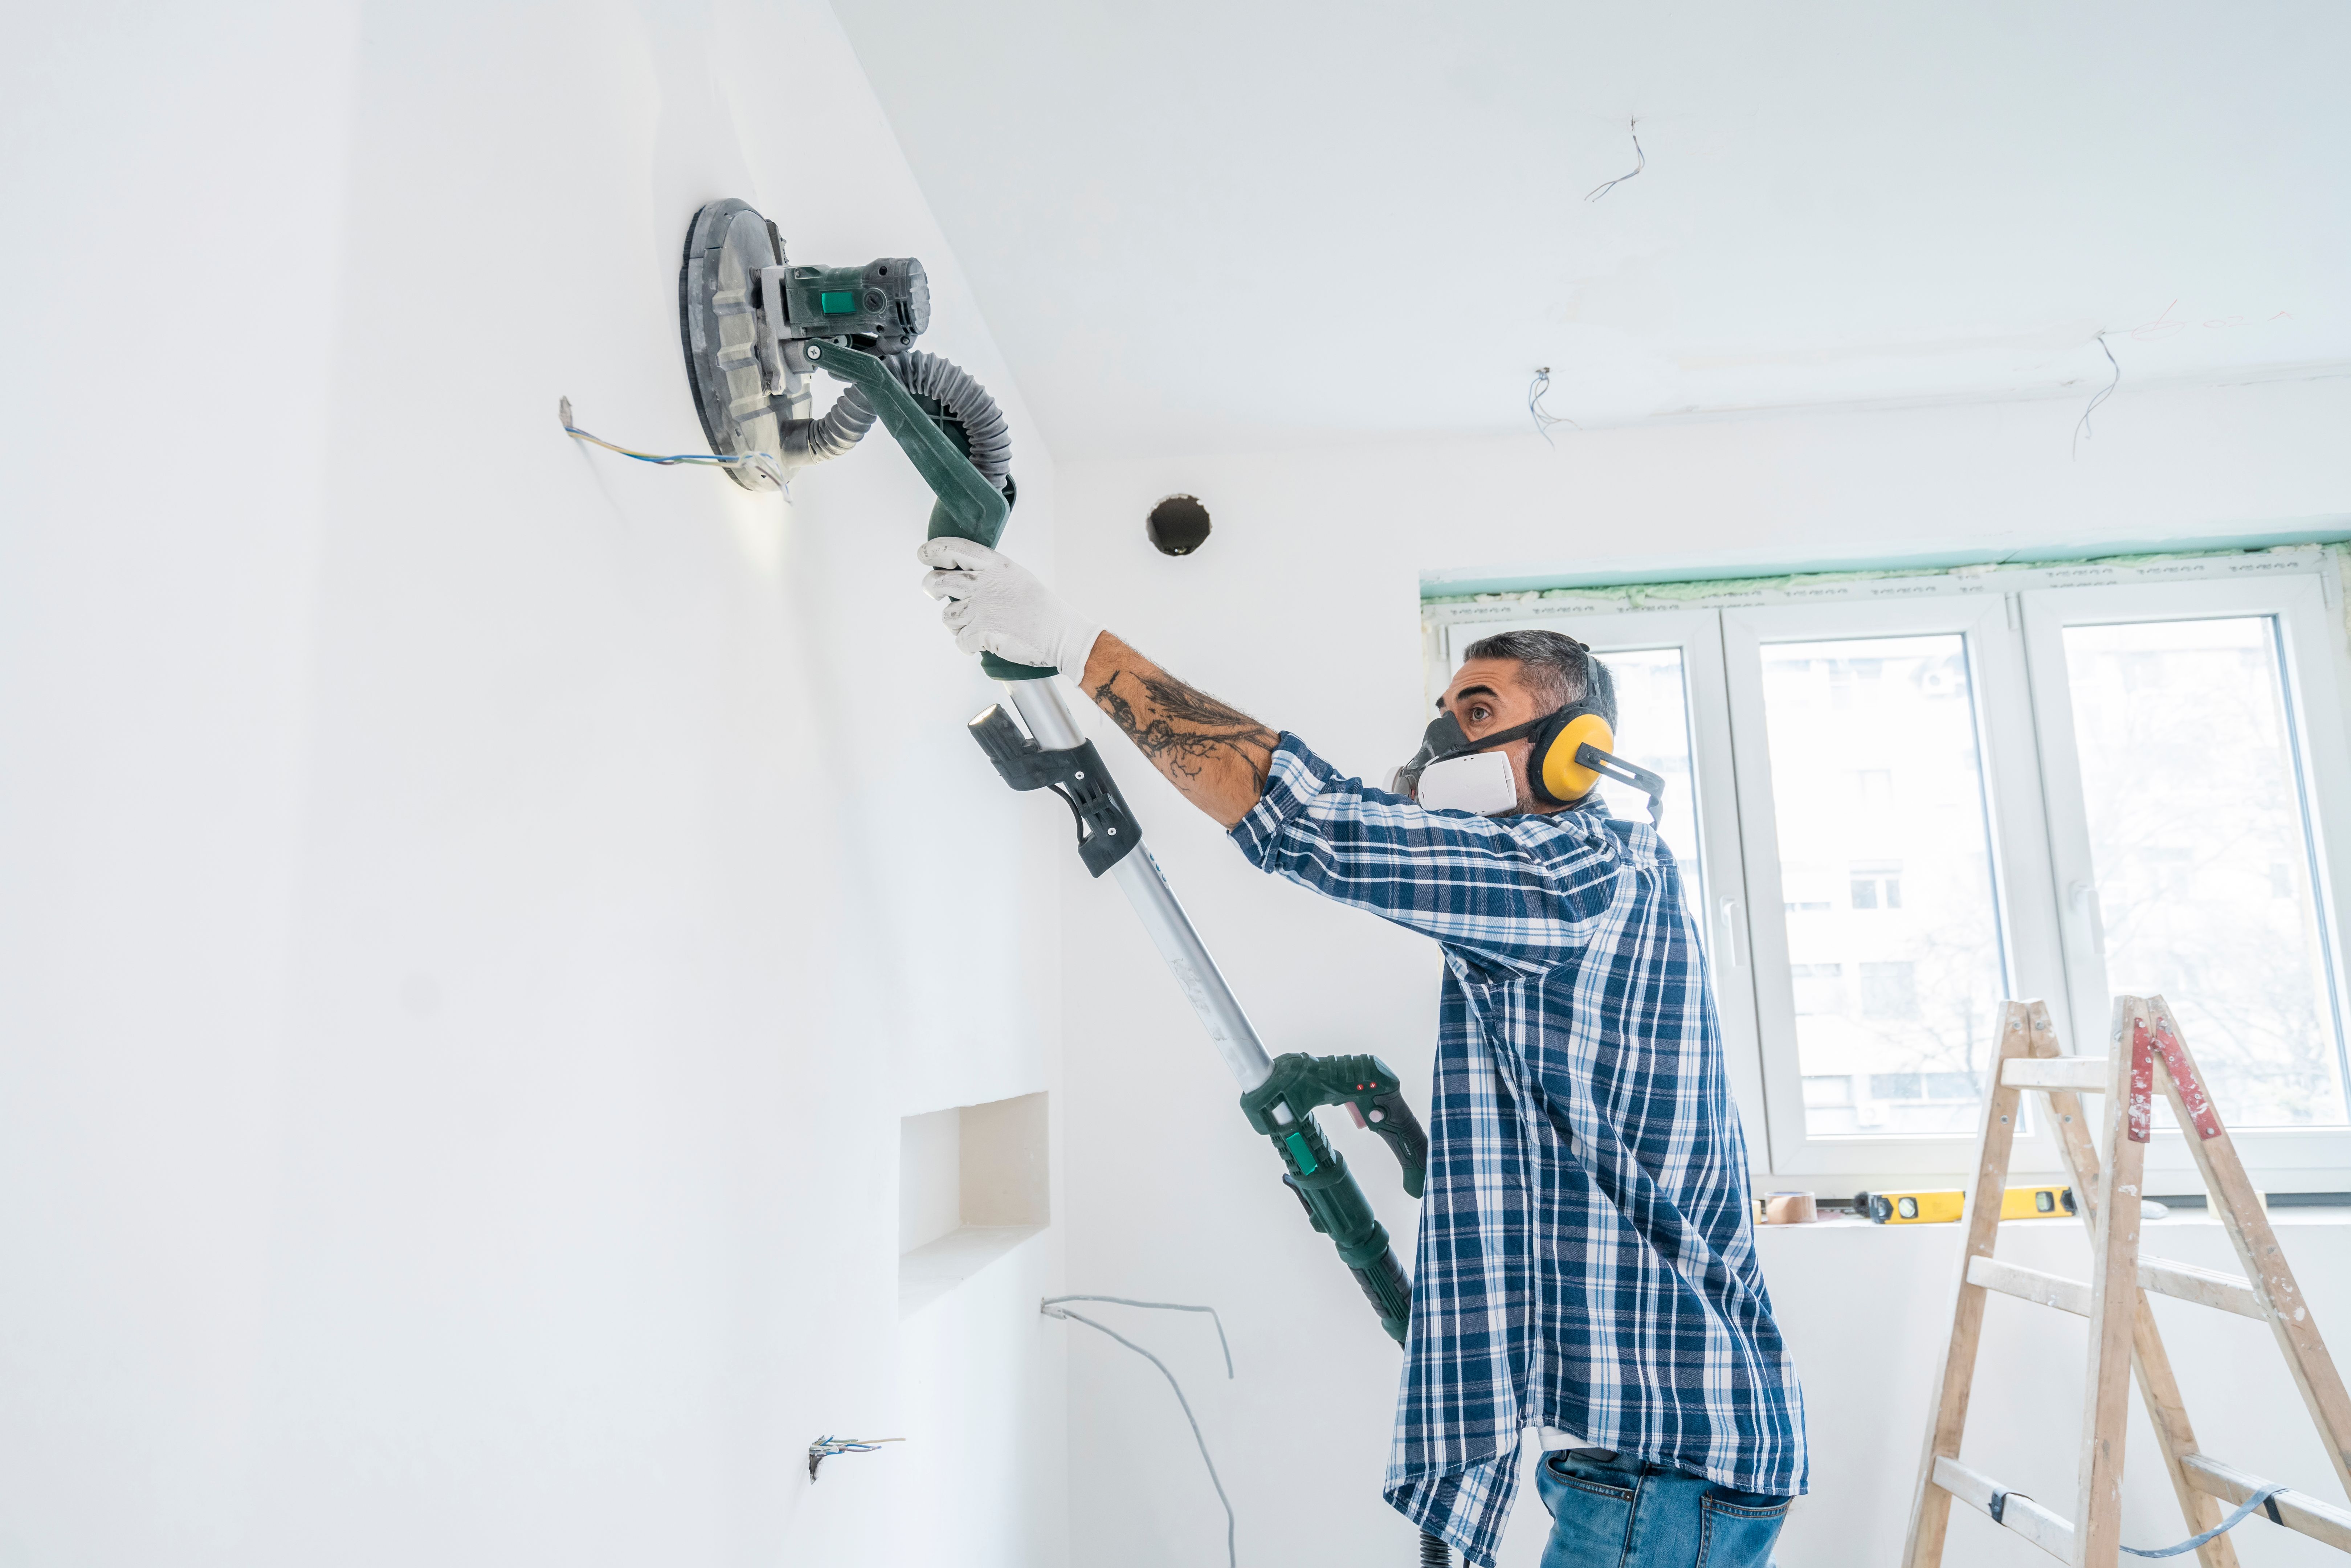
Once your walls are repaired, the next step is to clean them thoroughly. Dust, grease, and grime can prevent paint from adhering properly. Use a mild detergent solution to clean the walls, and rinse with clear water afterward. Allow the walls to dry completely before proceeding.
Sanding is another critical component of wall preparation. Sanding not only smooths out uneven surfaces but also helps paint adhere better by creating a slight texture. Use fine-grit sandpaper for the best results, and always sand in circular motions to avoid leaving marks.
Priming for Perfection
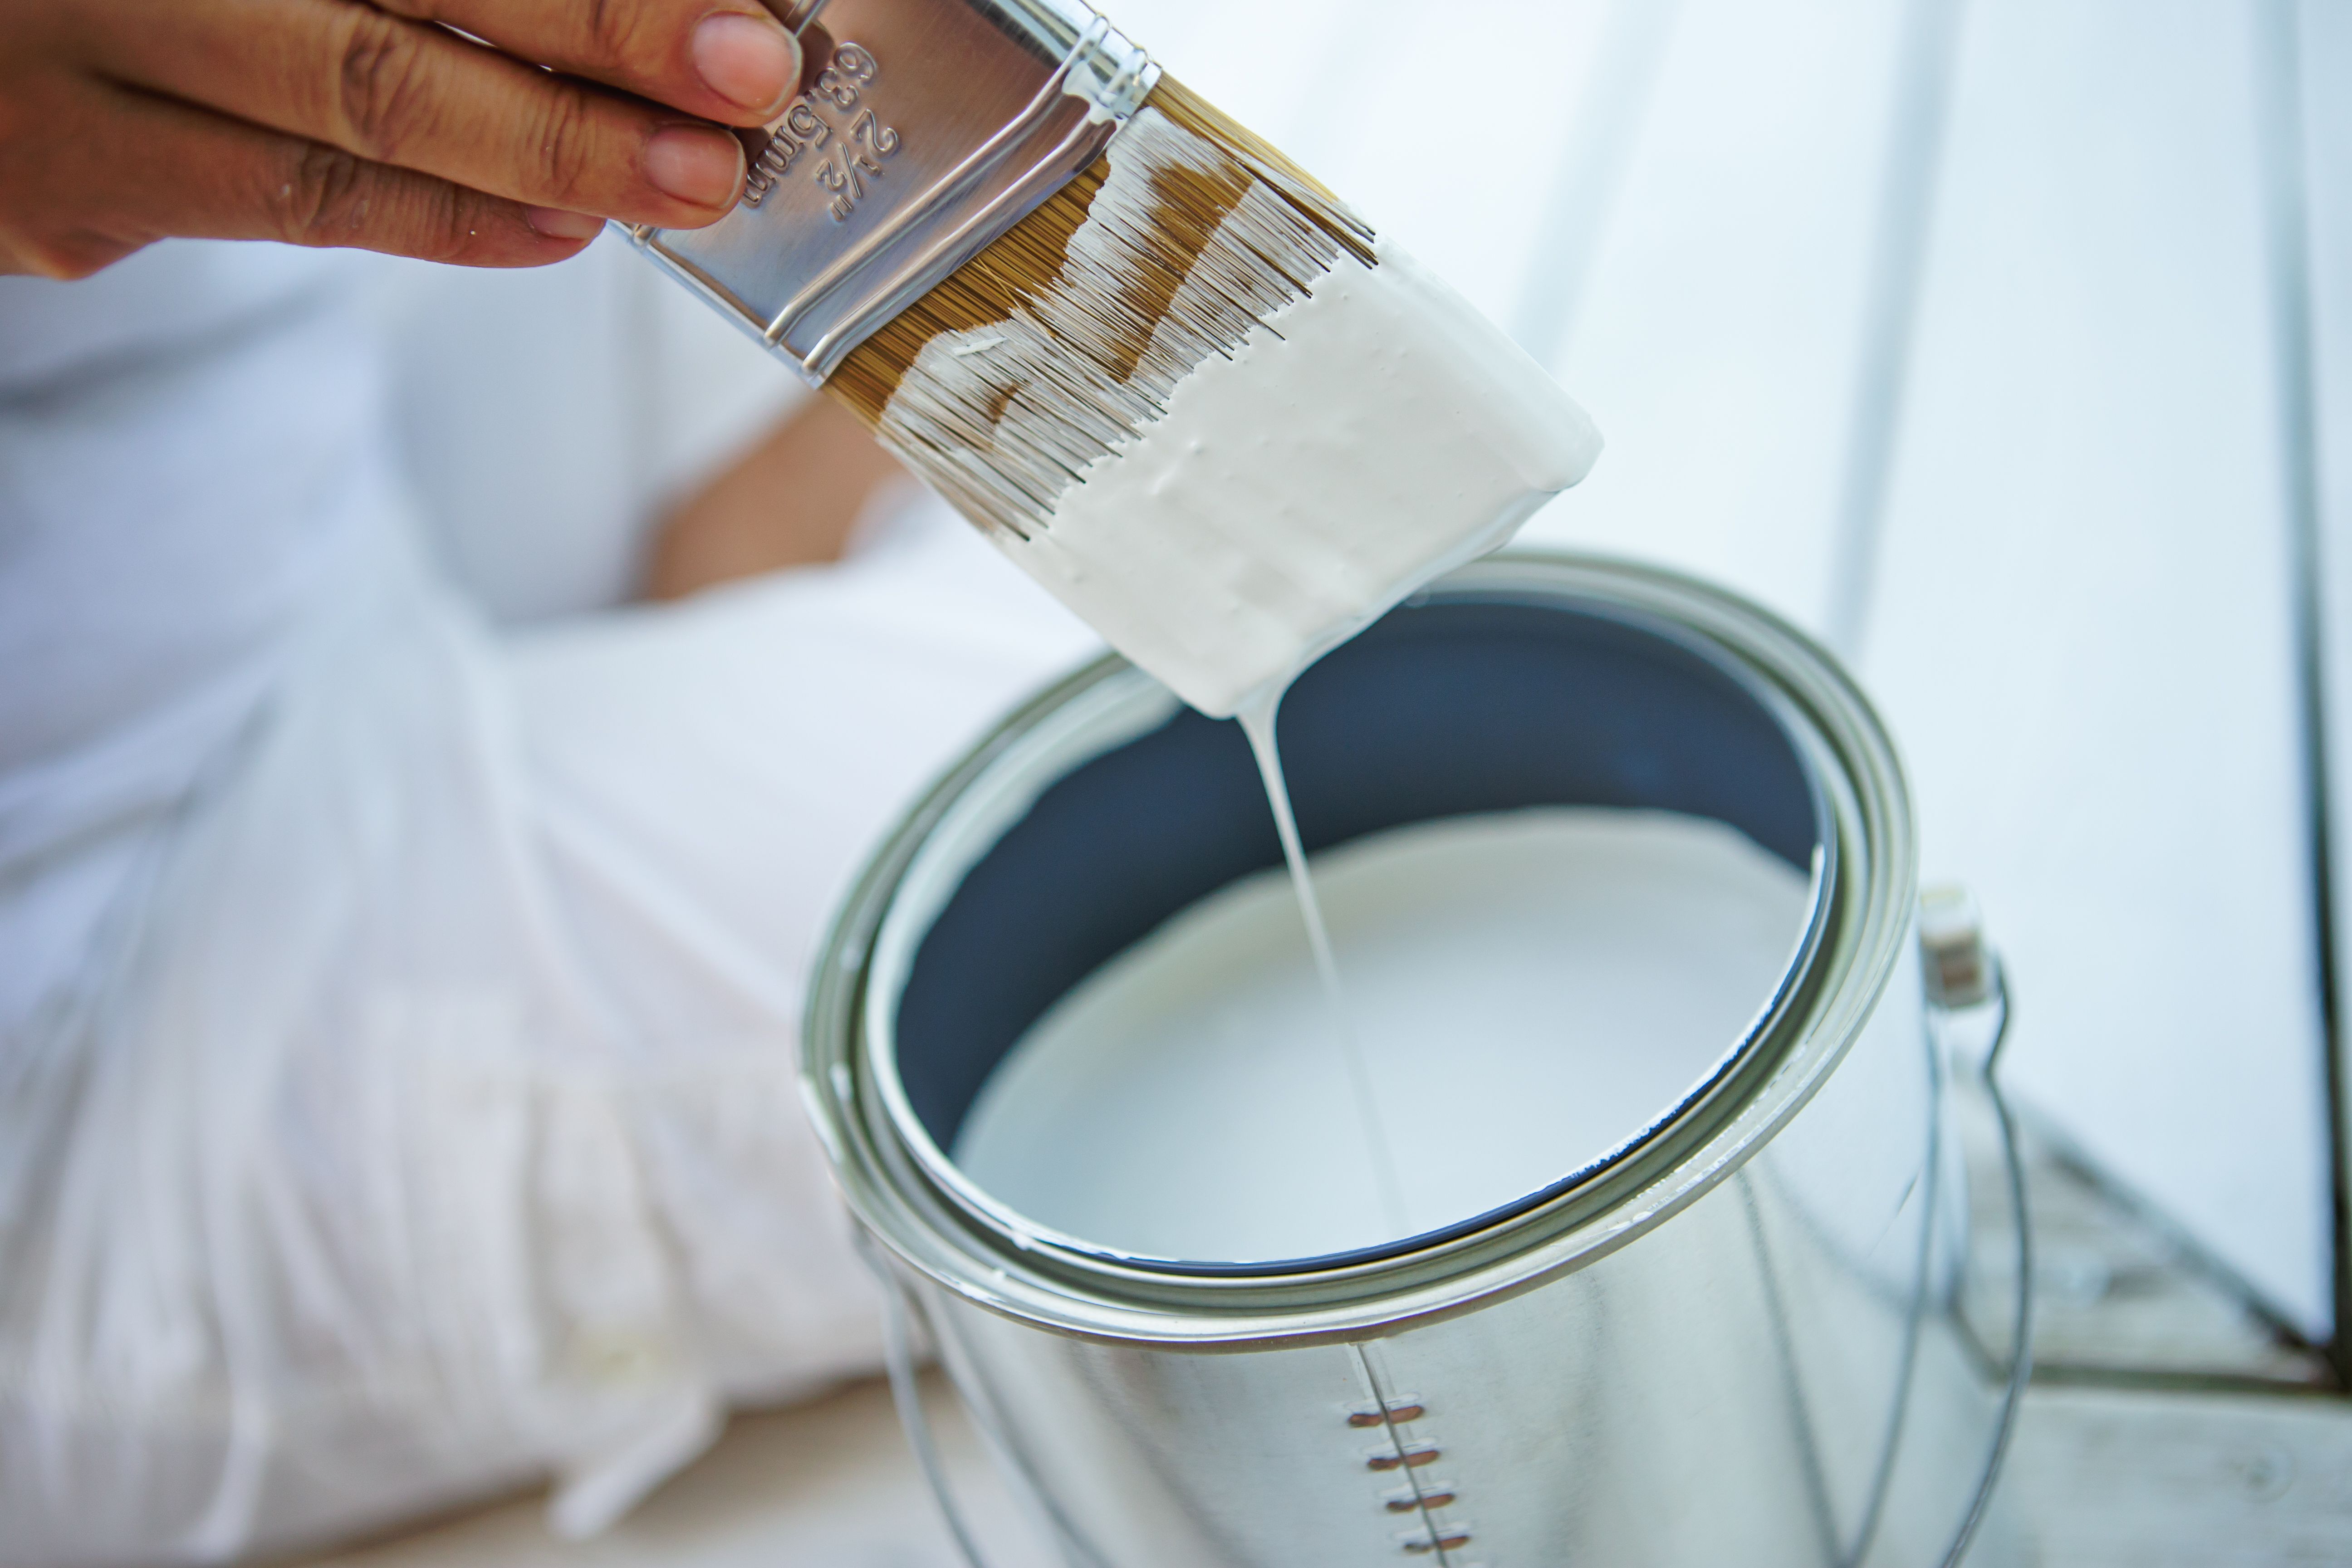
Applying a primer is often an overlooked step, but it's one that can significantly enhance your final result. Primer acts as a base coat that improves paint adhesion and provides a uniform surface for your paint color to shine. It's especially important when painting over dark colors or new drywall.
Choosing the Right Primer
Select a primer that suits your specific needs. For instance, if you're painting over a stained wall, opt for a stain-blocking primer. If you're working with new drywall, choose a drywall primer to seal the surface properly.
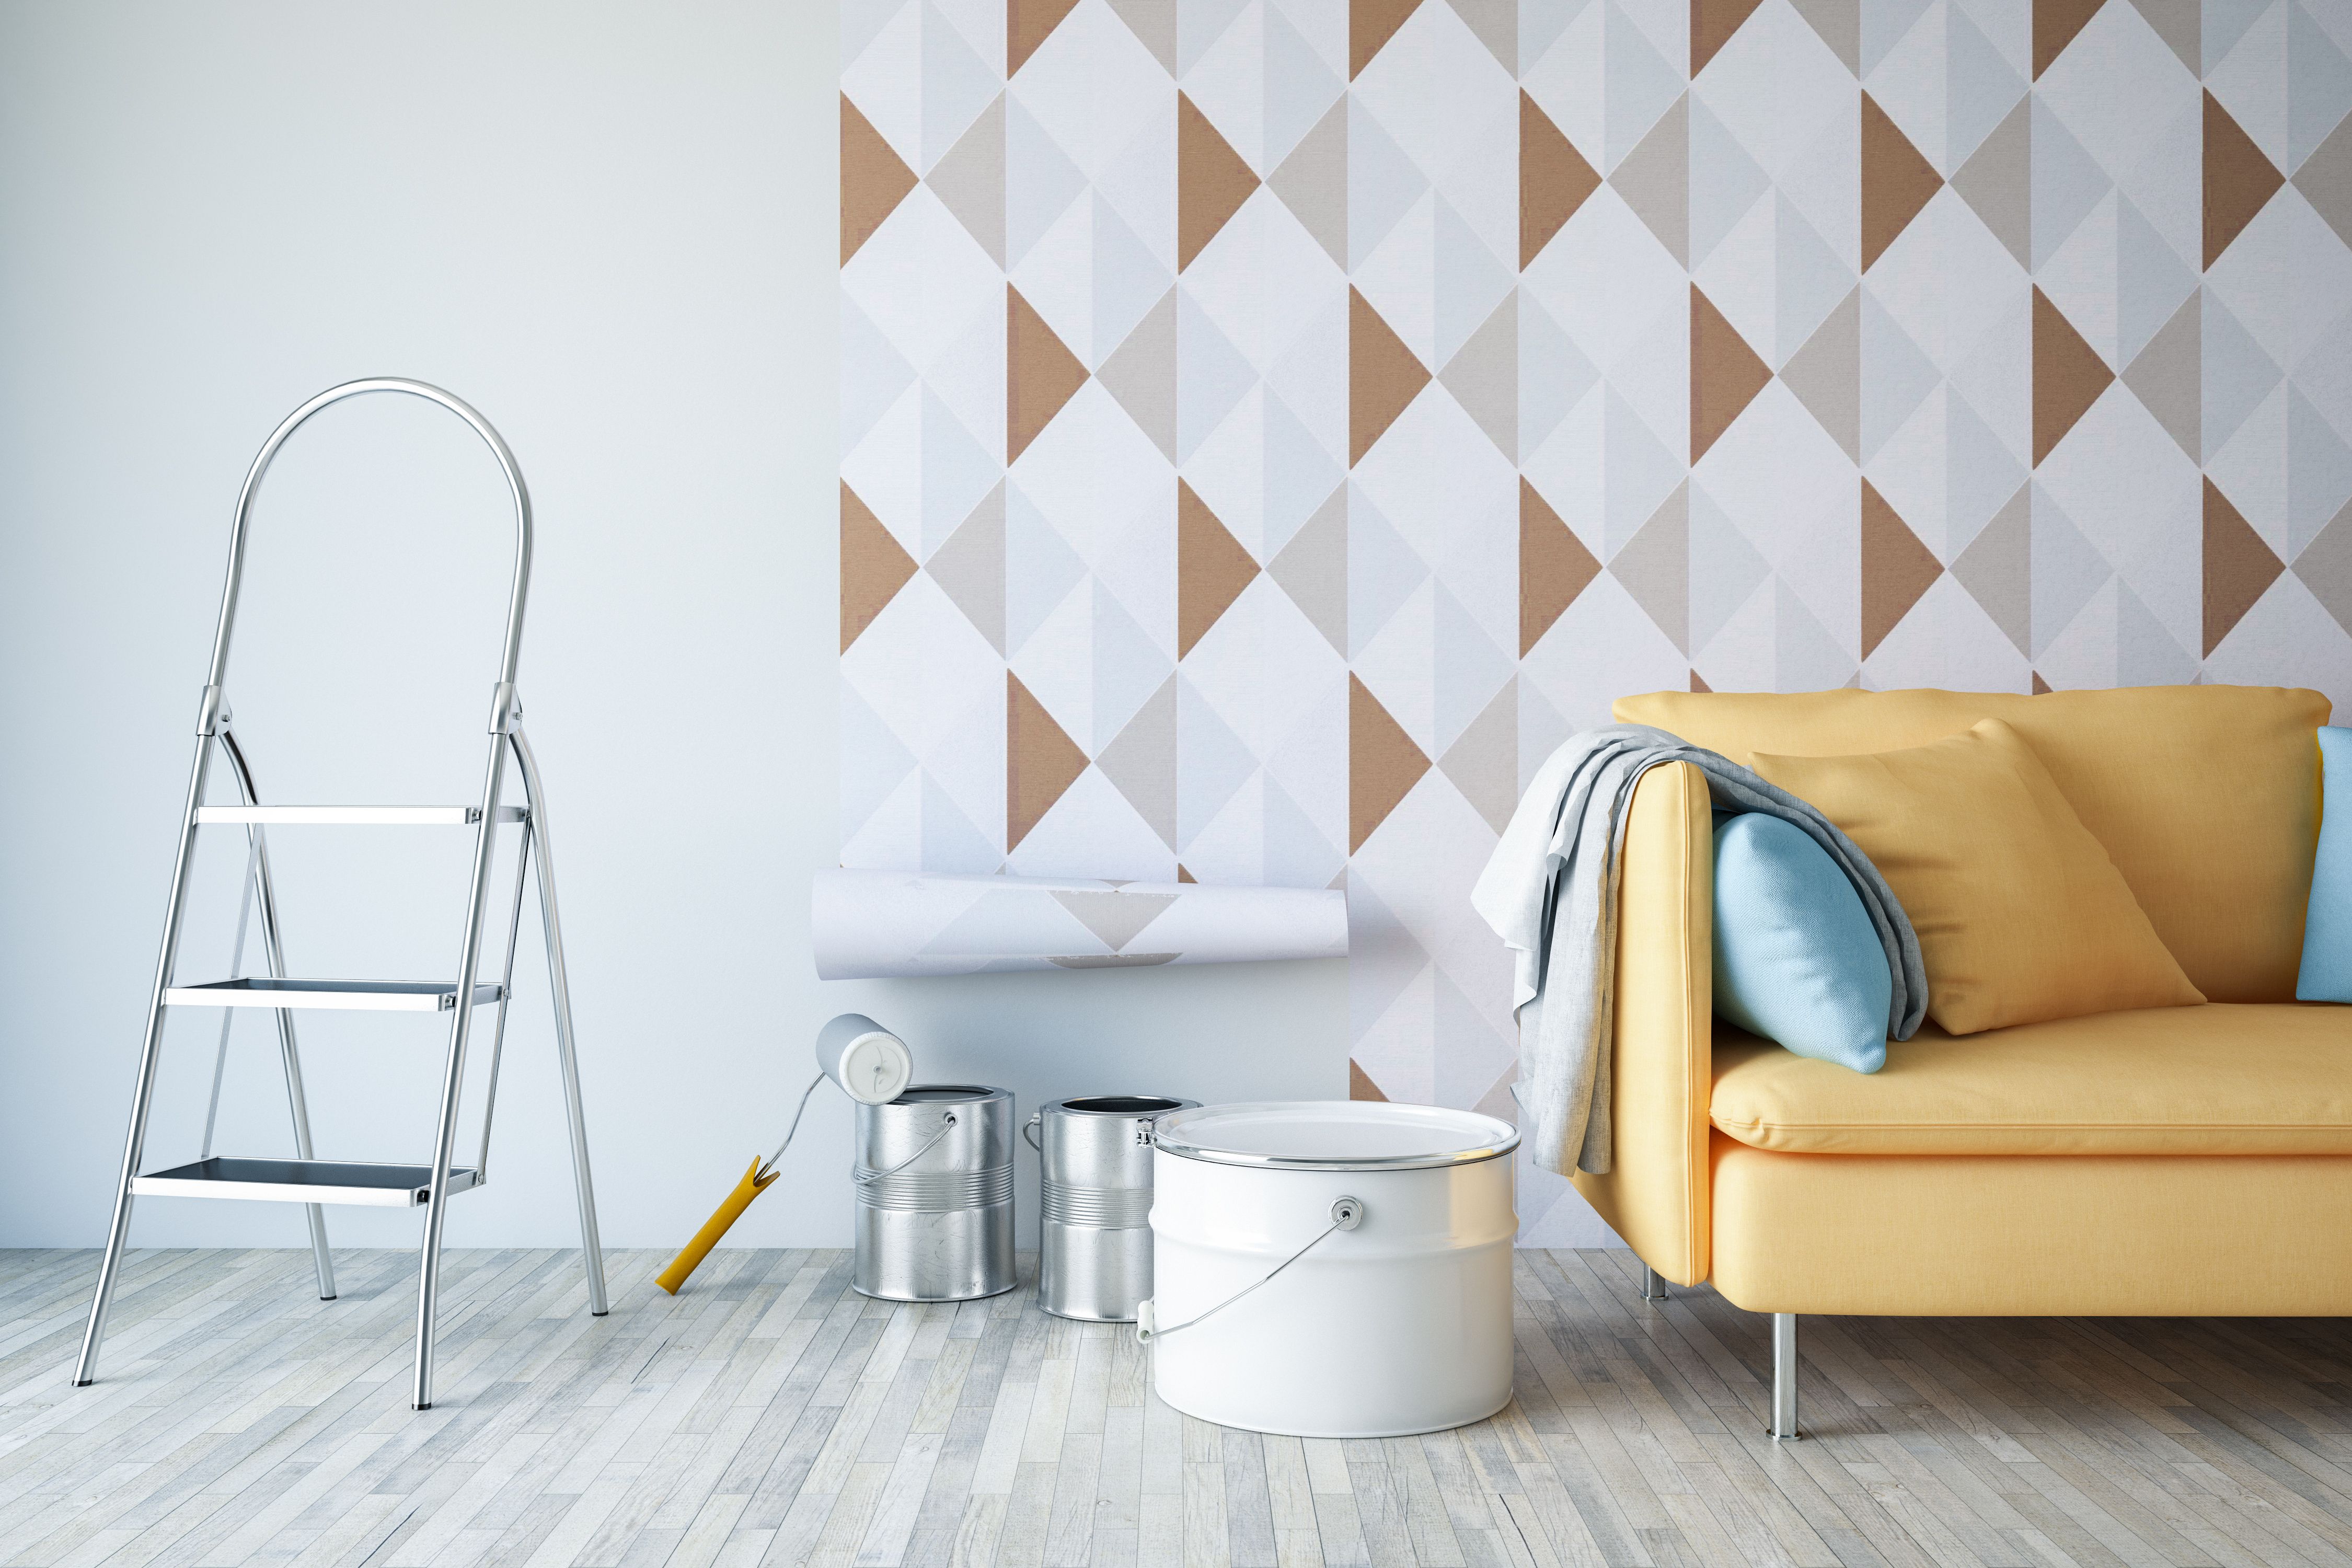
Taping and Protecting Surfaces
Before you start painting, it's essential to protect areas that you don't want to be painted. Use painter's tape to mask off edges, trim, and other surfaces like light switches or outlet covers. This step ensures clean lines and prevents paint from bleeding onto unwanted areas.
Additionally, cover floors and furniture with drop cloths or plastic sheeting to protect them from paint splatters. Taking these precautions will make your painting process more efficient and stress-free.
Conclusion
Proper wall preparation is a vital step in achieving a high-quality paint finish. By taking the time to inspect, repair, clean, sand, prime, and protect your surfaces, you'll ensure a result that looks professional and lasts for years. At Hansen's Trader, we believe that meticulous preparation is key to transforming your space with confidence and ease.
Remember, the effort you put into preparing your walls will be reflected in the beauty and durability of your completed paint job. Happy painting!