DIY Guide: Preparing Your Walls for Painting in Chelmsford
Getting Started with Wall Preparation
Painting your walls can transform the look of your home, but for a genuinely professional finish, it's crucial to prepare your walls properly. If you're planning to paint your walls, follow these DIY steps to ensure a smooth, long-lasting finish.
Before you start, gather all the necessary tools and materials. You'll need sandpaper, a putty knife, spackle, a primer, painter's tape, a drop cloth, and, of course, your chosen paint. Having everything ready will save you time and frustration later on.

Clean and Inspect Your Walls
Begin by cleaning your walls thoroughly. Dust, dirt, and grease can prevent paint from adhering properly. Use a mild detergent mixed with water to wipe down the walls, and let them dry completely before proceeding.
Once clean, inspect the walls for any damage. Look for cracks, holes, or peeling paint. These imperfections need to be addressed before painting to ensure a smooth and even surface.
Repair Any Damages
Use a putty knife to fill in any holes or cracks with spackle. Apply it generously and scrape off the excess. Once dry, sand the area until it's smooth and flush with the wall surface. For larger holes or significant damage, you might need to use a patching kit.

Sanding for a Smooth Surface
Sanding is a critical step in wall preparation. It removes any old paint drips and creates a slightly rough surface for the new paint to adhere to. Use fine-grit sandpaper for the best results. Sand lightly over repaired areas as well as any glossy surfaces.
Priming the Walls
Priming is essential for painting walls, especially if you're covering dark paint with a lighter color or dealing with new drywall. Primers help ensure better paint adhesion and create a uniform surface for the topcoat.
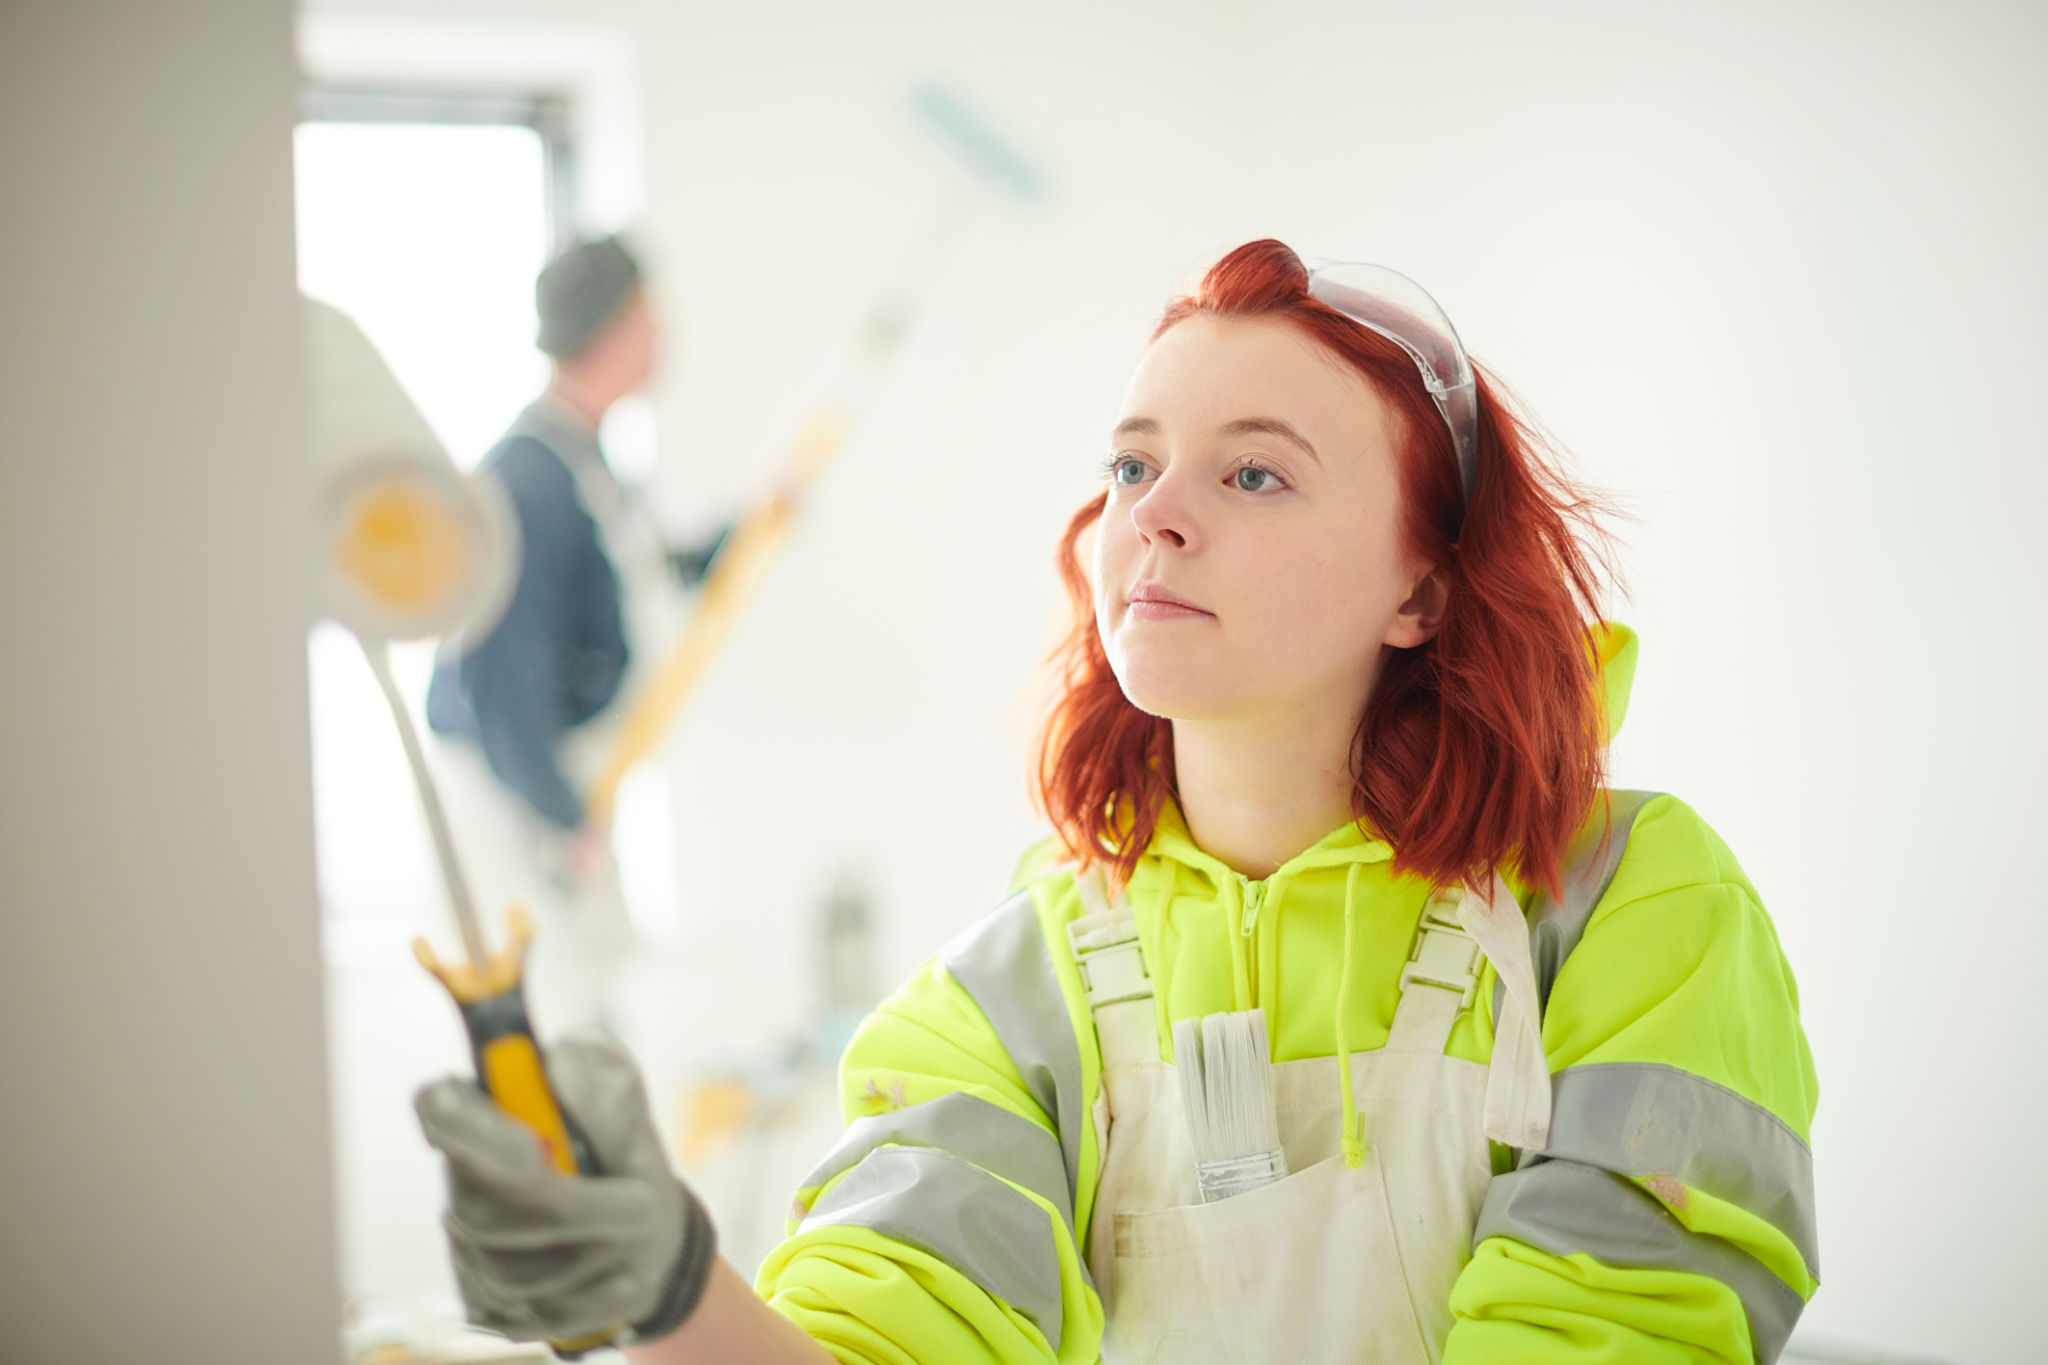
Apply primer using a roller for large areas and a brush for corners and edges. Allow it to dry as per the manufacturer's instructions before moving on to painting.

Taping and Protecting Trim
Use painter's tape to protect trim, windows, and any other areas you don't want to paint. Press the tape down firmly to avoid paint seeping underneath. Lay down a drop cloth to protect flooring from potential spills or splatters.
Final Touches Before Painting
Once everything is prepped and protected, double-check your work. Ensure all repairs are smooth, primer is applied evenly, and tape is secure. These final checks can make a significant difference in the outcome of your painting project.
Taking the time to properly prepare your walls will lead to a much more satisfying result when you finally apply that fresh coat of paint. Whether you're refreshing a single room or revamping your entire home in Chelmsford, these steps will help you achieve a professional-looking finish. Happy painting!
